 "Dave the car guy , still here" (a3dave)
10/11/2016 at 22:03 • Filed to: None
 2
2
 4
4|
"Dave the car guy , still here" (a3dave)
10/11/2016 at 22:03 • Filed to: None | 2
| 4 |
The 8PA chassis A3 quattro actually has pretty fair braking from the factory but it could be better. Having some of the same chassis pieces of MkV and MkVI Golfs helps . Despite the quattro having the same VR6 as the R32 somehow it was decided to give the A3 smaller front and rear rotors from the GTI. Not sure what the reasoning was for that. There have been a few complaints from car magazines about the test cars but I think the main issue was demos that had been beat on by a bunch of car masochists until the stopping power was near nil. I decided I’d go a few steps towards making the beast come down from speed better without breaking the bank and maybe avoiding finding out what they have complained about.
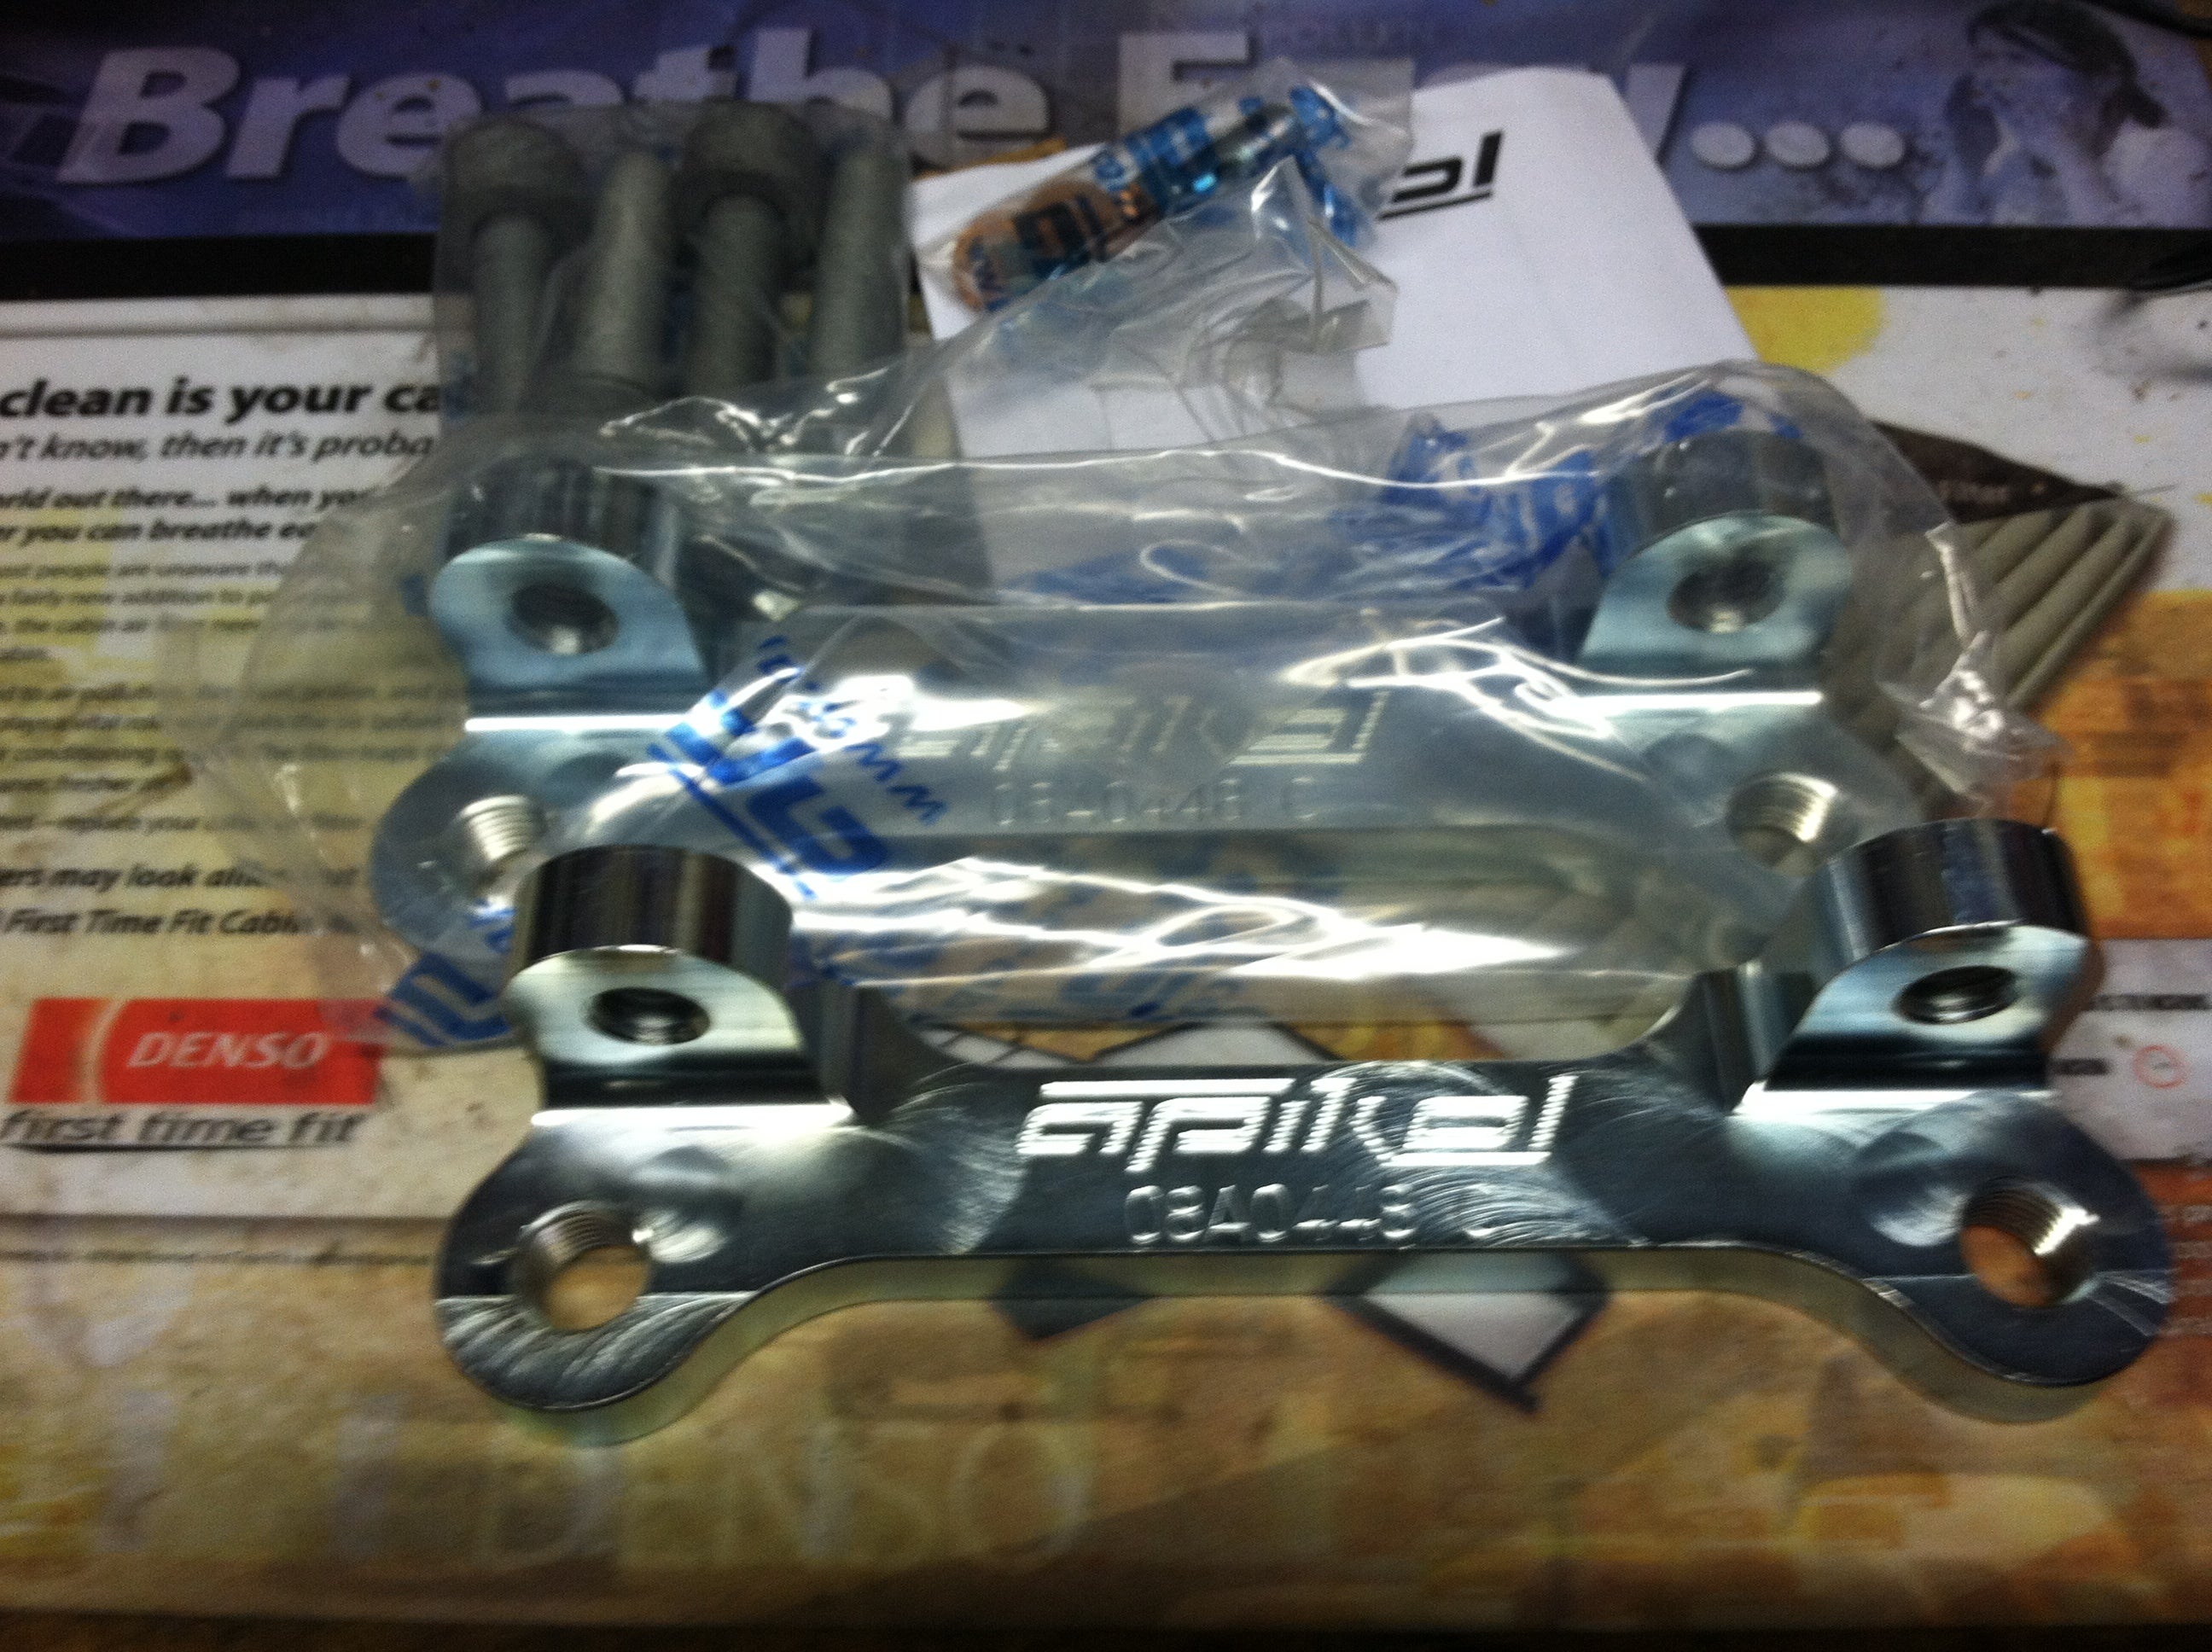
The first step was getting some used Porsche Boxster 2.7l brakes. I wanted to not have to buy new wheels/tires since I have my stock 17" GMBH wheels plus a set of old Audi alloys with snow tires. To achieve this you can’t use Boxster S brakes so I got an Apikol bracket kit with all hardware to mount the 986 brakes. This upgrade also retains the stock master cylinder which is a plus. Since its a budget upgrade I searched for reman calipers but last year I found them all on back-order so I decided on used and doing a rebuild. With the 986 adapter brackets I can also keep the stock 312mm x 25 rotors but I’ll likely upgrade to something like DBA Clubspec rotors at some point for all four corners. Haven’t purchase pads yet, so many choices and the Ferodo ones that came in the calipers actually have usable thickness at 11-12mm each. The rear pads will get upgraded when I get new rotors. Braided lines may also get figured in at some point.
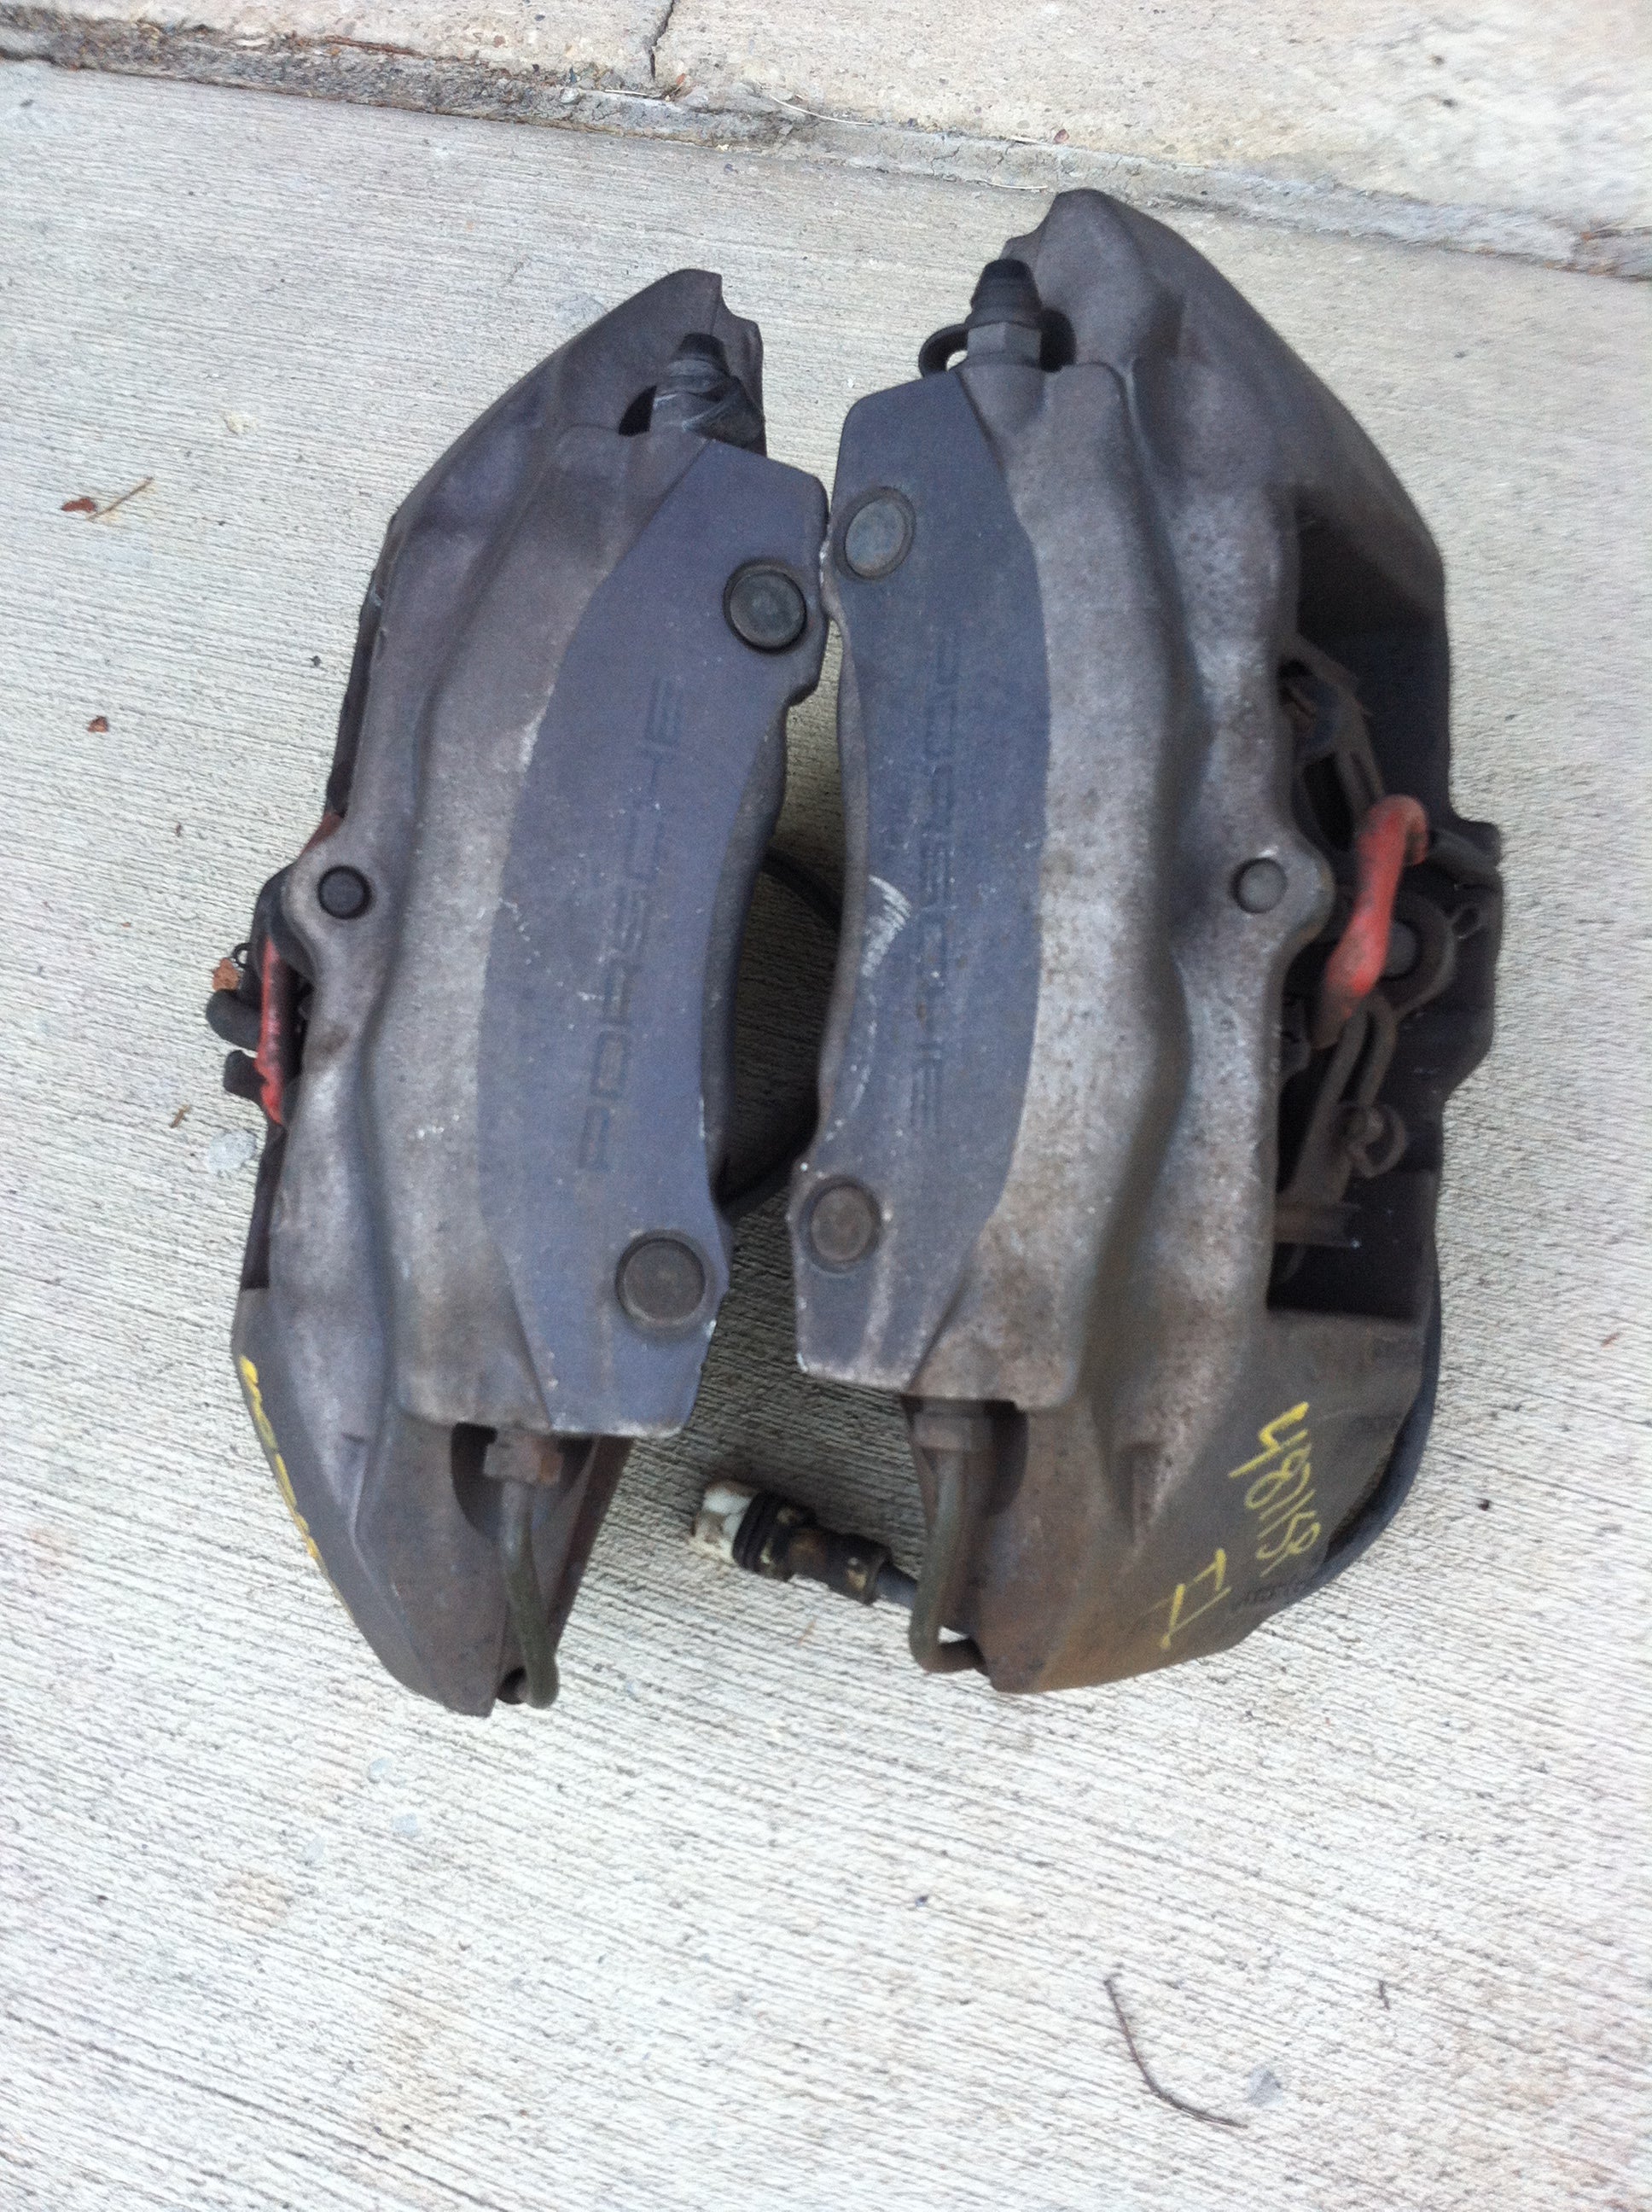
Here are the used calipers I found with some searching at an import wrecking yard in Kansas for only $125 shipped. This was a steal considering core charges on remans exceeded that. Had them in Ohio after a few days because the place shipped them UPS 2nd day which I didn’t even request. Was so lucky to have a local yard tell me to call them.
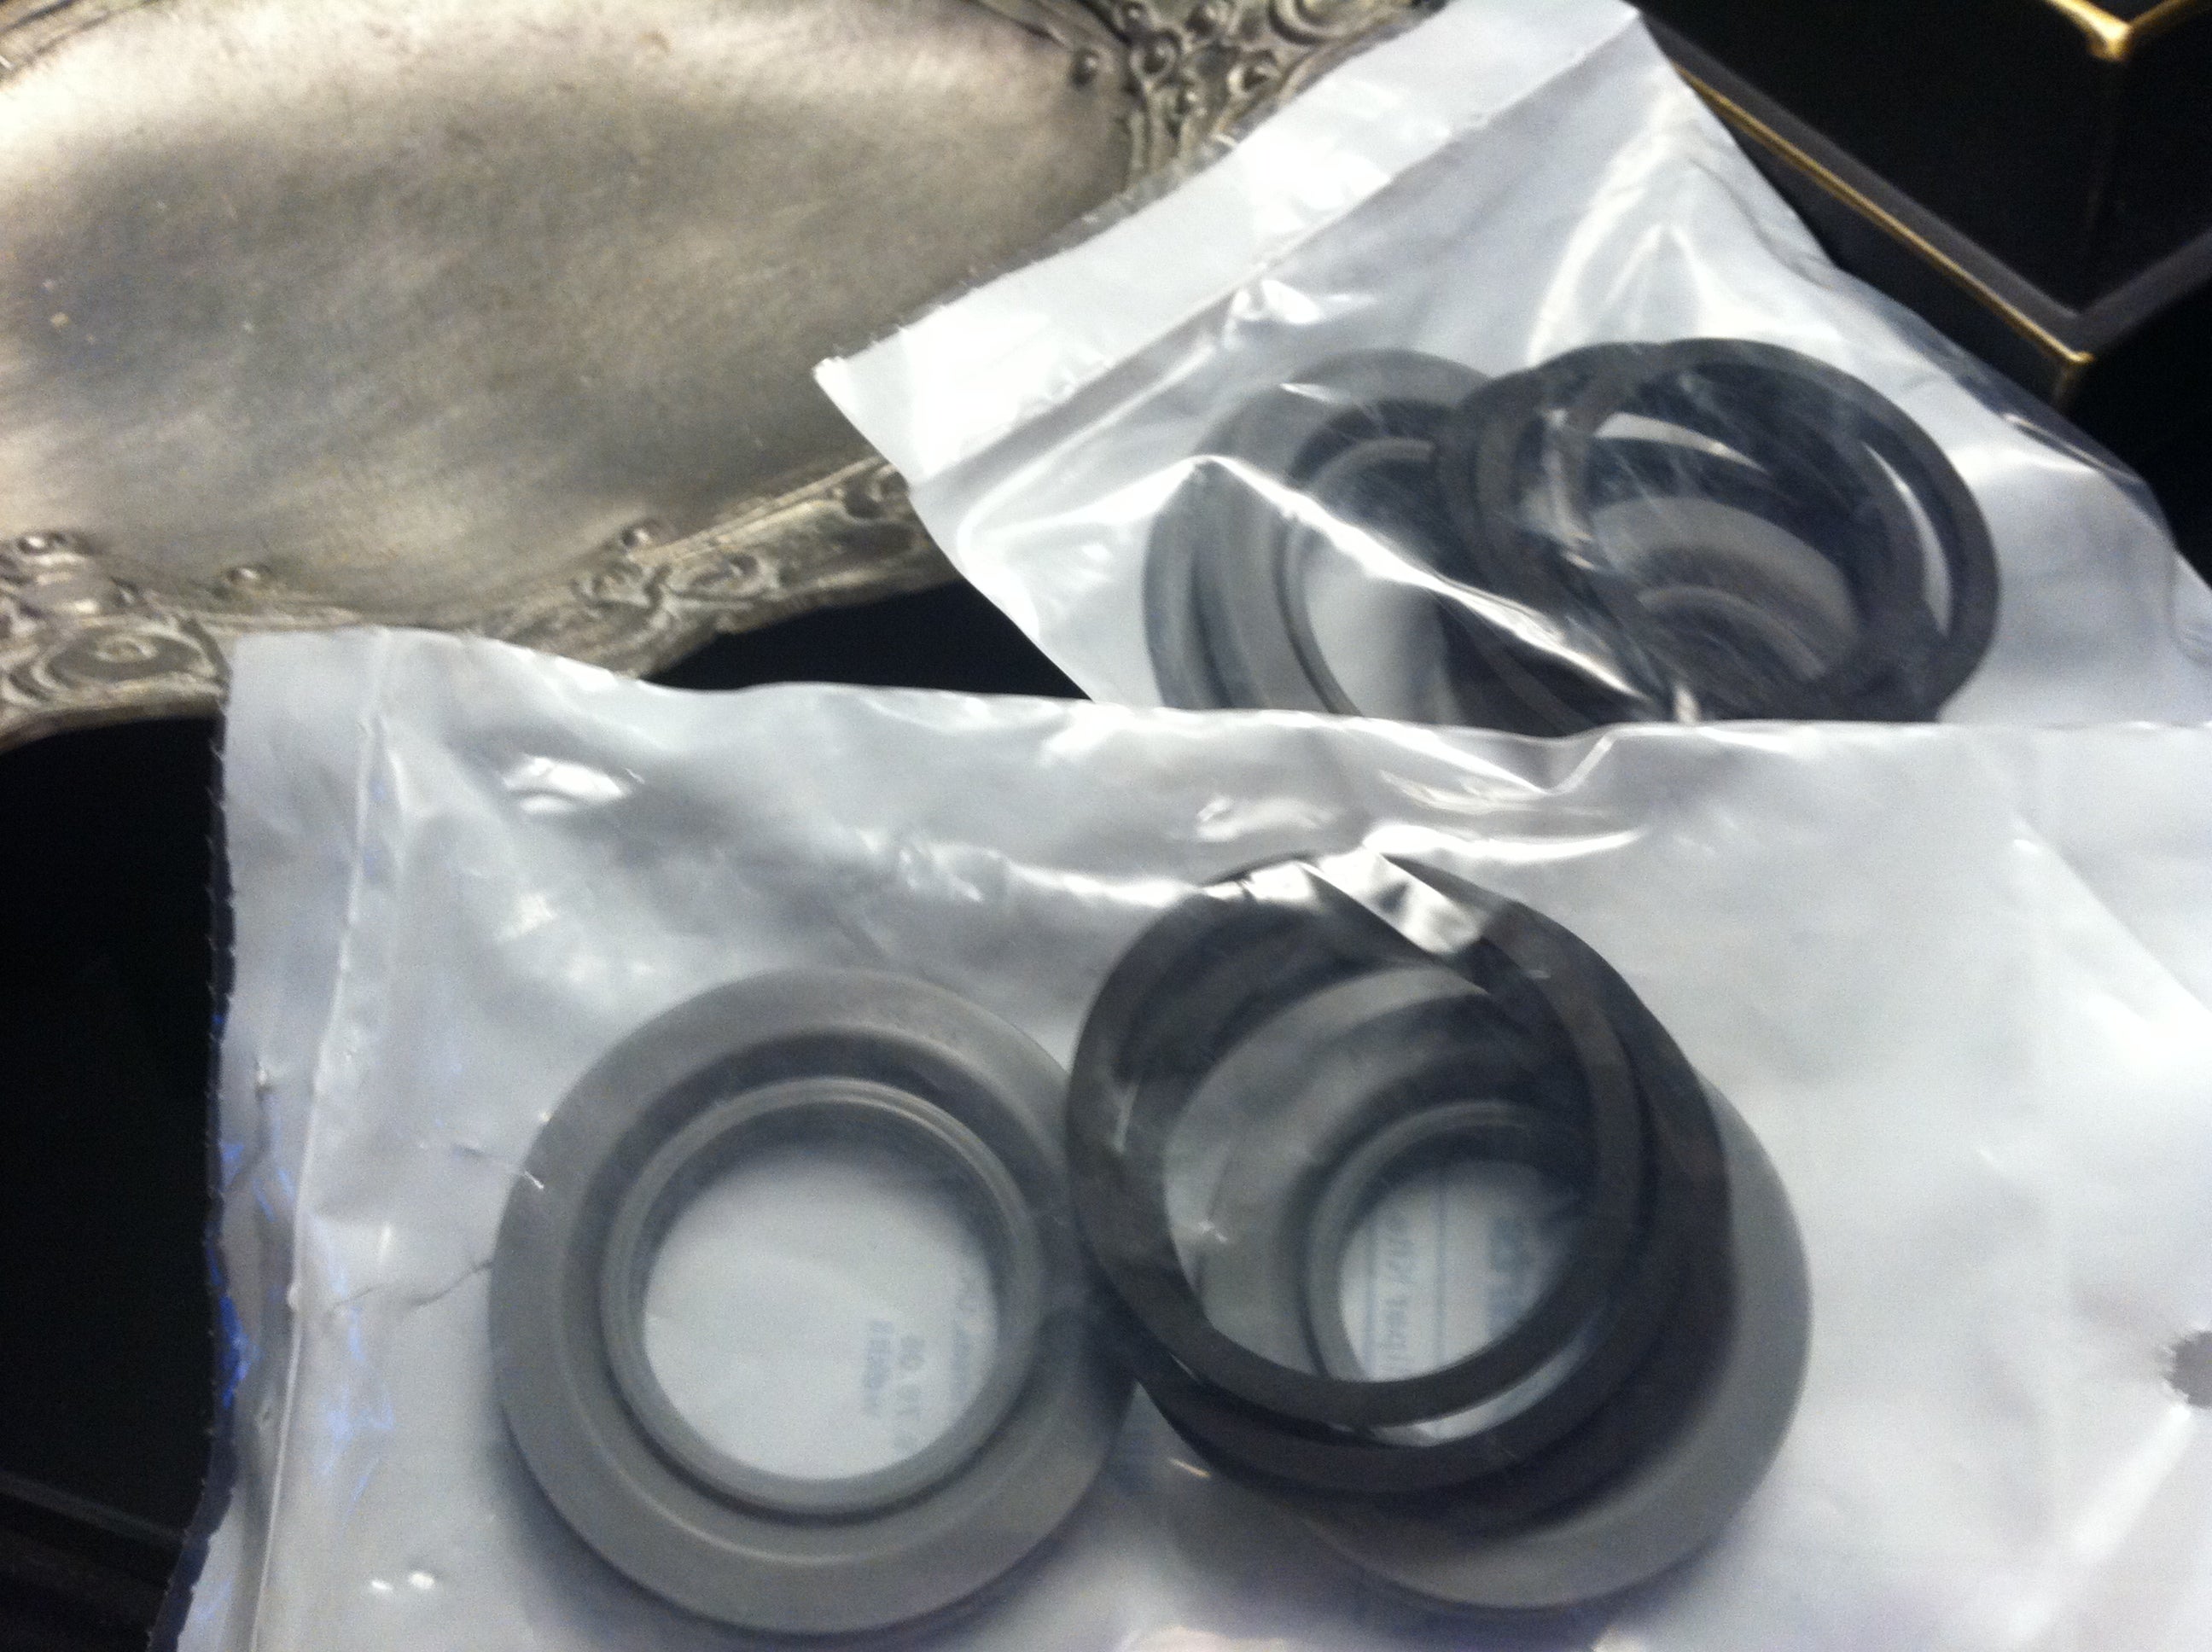
Wanting to do a decent rebuild I bought Stoptech seal kits with hi-temp silicone boots , hardware and new Brembo pistons. Went to the extent of getting red Castrol brake assembly grease from the UK to make sure the seal installs are perfect.
Getting the calipers apart require a skinny punch to remove the pad retaining pin. The crazy step is putting a block of wood in place of pads and applying compressed air to pop the pistons. Hands away from inside the caliper so you don’t hurt yourself. With only 50-60 psi the pistons hit the wood with enough force to sound like a gunshot. I grabbed the wood with pliers and twisted it out of place to remove the pistons and replace the seals plus boots.
Then I had to consider how I was going to finish them. Bought paint instead of having them blasted and powder coated which a friend would have done for free. The reasoning for this is I live in a state where road salt is used. I was informed not to break the hard anodizing which protects the aluminum even if the caliper gets chipped. It is more time consuming but its what it is. Took some cleaning again after the reman job the get masking tape to stick. Seal kits below.
To have more clearance on the two pins inside the Brembo monoblock calipers there is some minor grinding to be done on the hardened steel pins. There is 27mm width over a 25mm wide rotor. Its recommended to widen this to 29 mm so I had to break out my cut-off tool. Even then this steel is tough enough that it took nearly an hour on the first caliper.
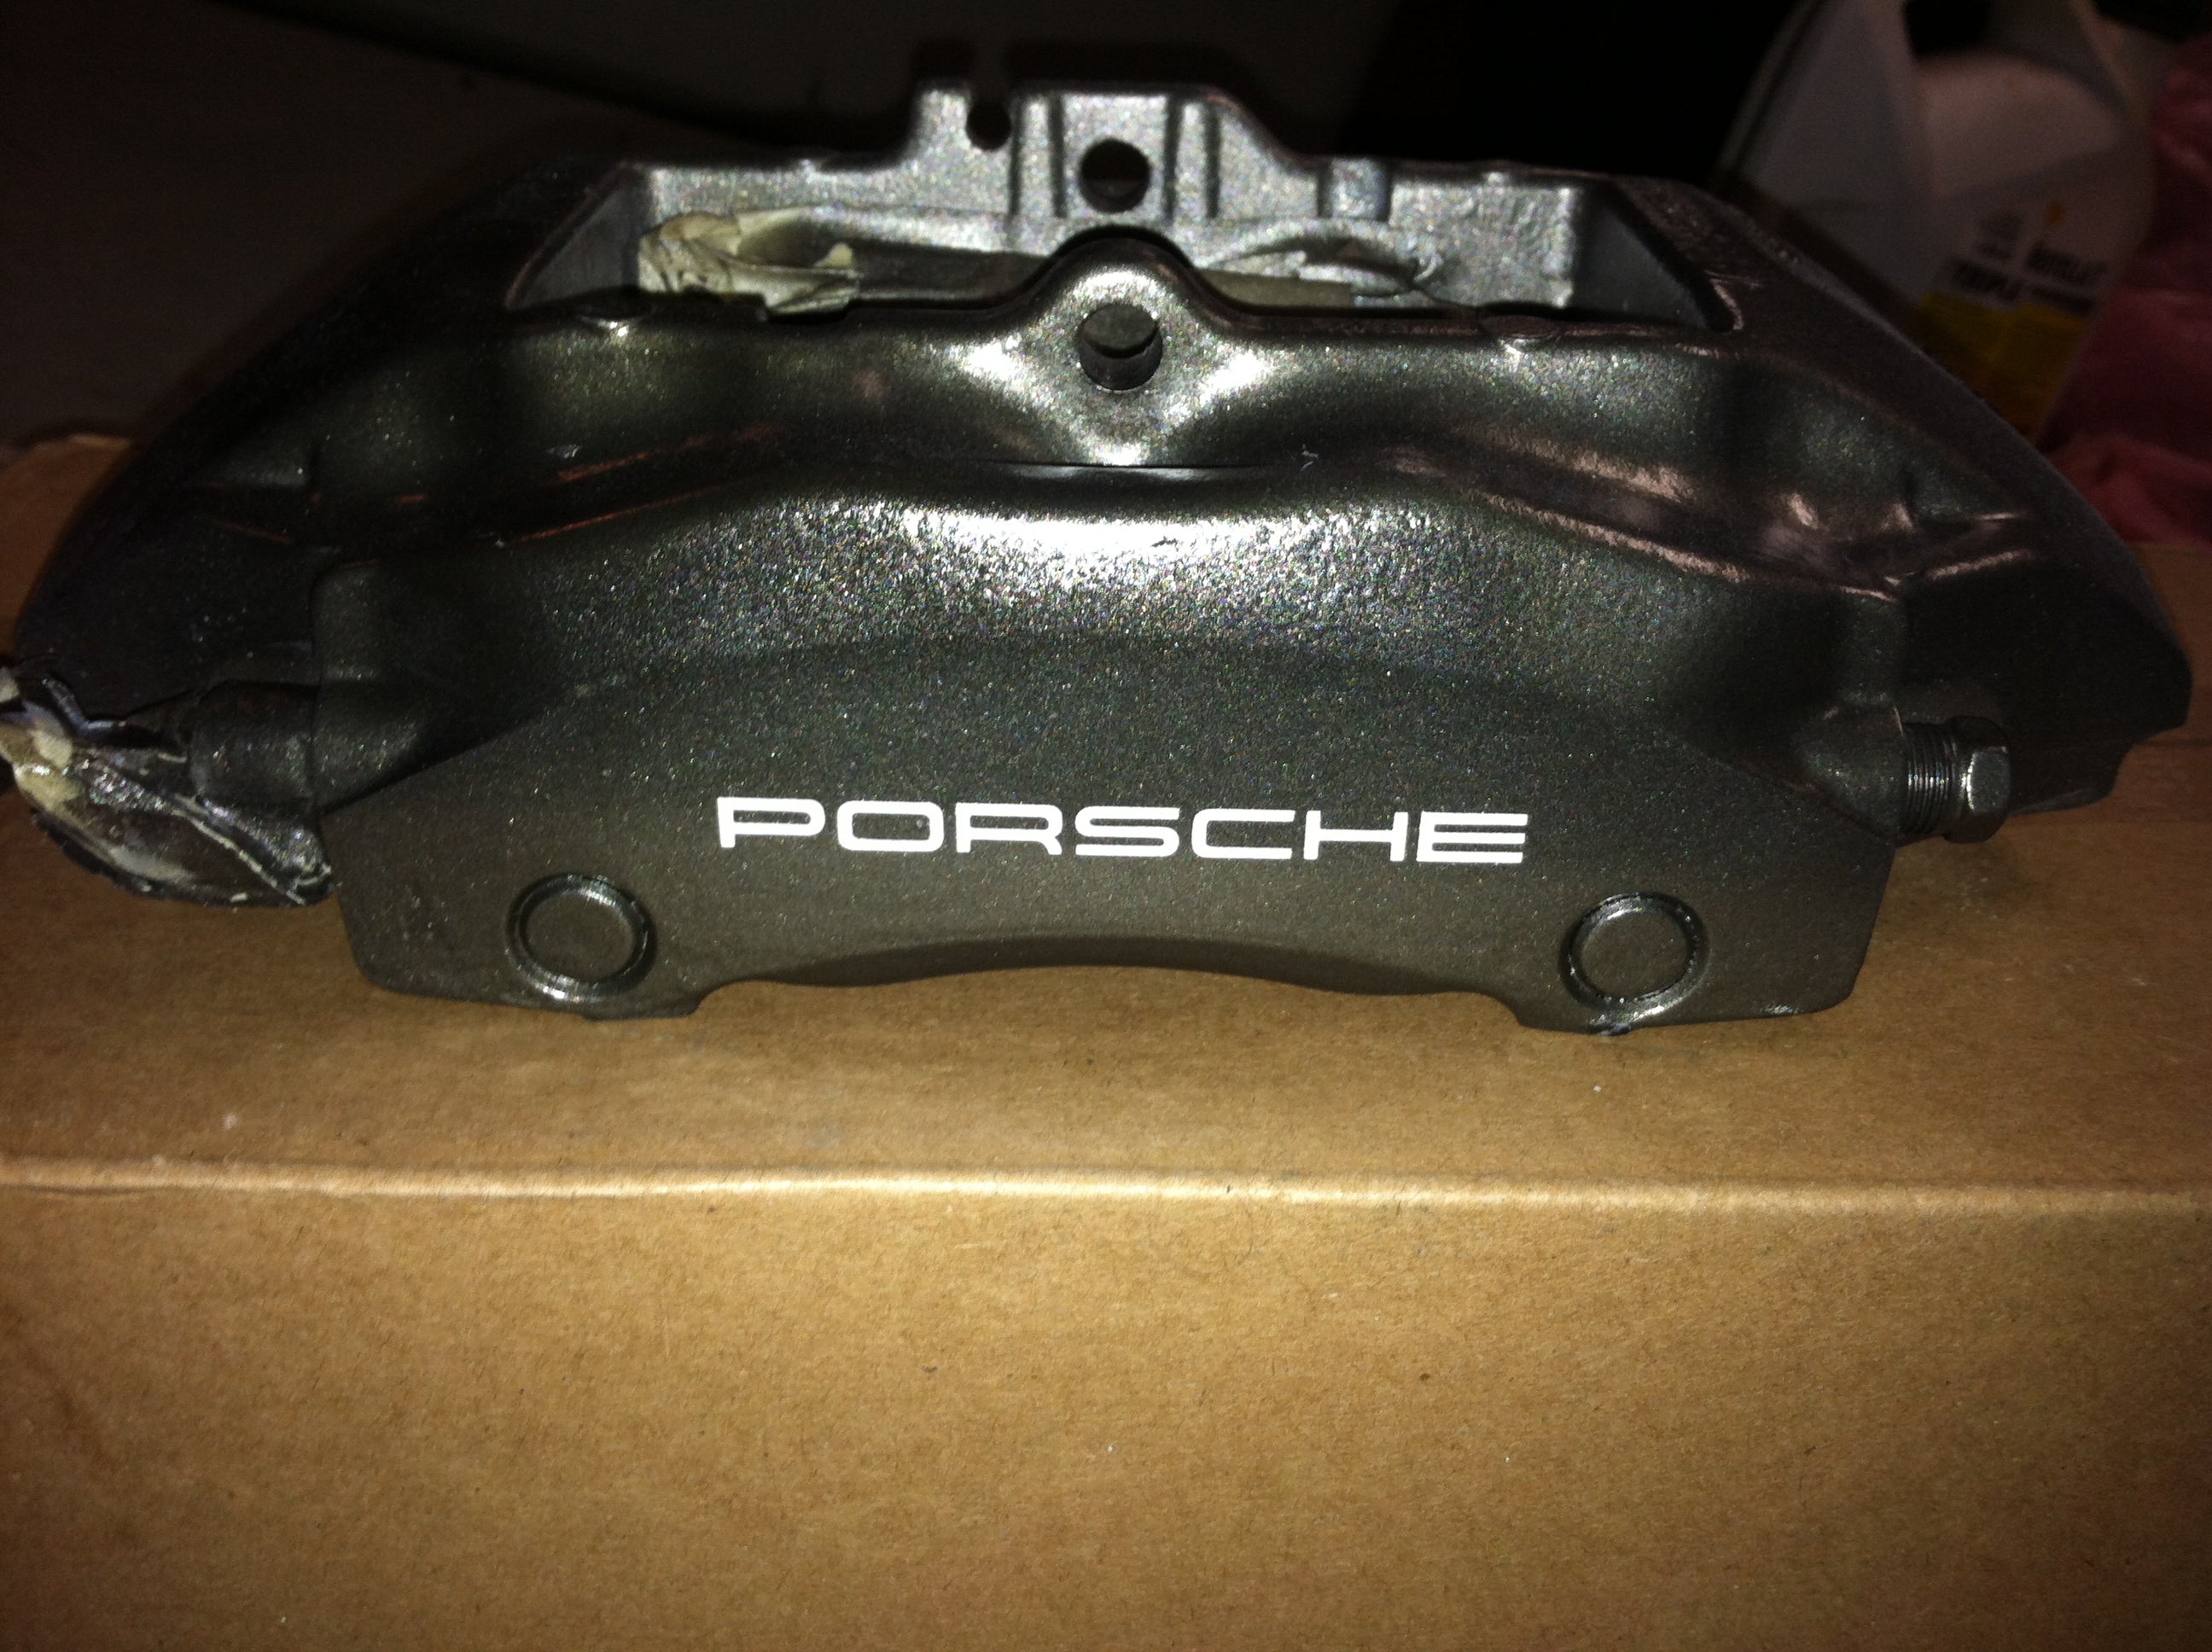
Spent hours cleaning with degreaser, brake cleaner, alcohol and prep wipes. Still had some fish-eyes in the first coat of primer so I cleaned the first caliper another time with mineral spirits and got more adhesion. Put two light primer layers, three of paint which orange peeled and then took to redoing the Porsche lettering with paint not crappy vinyl decals that discolor with heat. Found stencils of the exact size on the web that made this easy. After careful masking it came out fair. Used an Exacto knife to pick out the stencil remains from the P,O and R. I applied a couple coats of clear to seal the lettering. Aside from the textured paint I’m very pleased. Taking even more care with the cleaning on the opposite side which I started on tonight. Here is my one completed caliper.
So now I have to finish cleaning the other caliper, grind, clean, reman, clean, paint etc until it is ready for install in the spring when I’ve got all my other planned upgrade parts together. I may also add a Tyrolsport master cylinder brace which will reduce firewall flex on hard braking and give a more firm pedal. This is a minor issue with many of the VW Golf/Jetta and A3 platforms..
So sometime probably in the spring I’ll put all this together and bleed the system. What I’ll have is 4 piston calipers instead of single piston that I ‘ve been told by friends from the Quattroworld B5 forum will be better if I get to do a track day. Seems they are harder to make fade, plus brake feel is improved with a fixed instead of floating caliper. No longer having to worry about slider pins freezing up is probably one of the best benefits. The braking distance isn’t supposed to be improved to the R32 level but enough so that its very noticeable.
So far I’m maybe at $600 invested which will climb to about $1200-$1300 with pads, hoses, rotors and the cylinder brace. It will be way cheaper than a BBK ,new wheels and tires and still be a sizable improvement. The front to rear brake balance isn’t upset greatly with these upgrades either so I won’t have to change rear calipers, rotors, etc like with the big brake kits.
When I assemble things the caliper position is on a different side of the rotor than before. This requires swapping the cross tube from one caliper to the other and also switching the bleeder locations to get them up top. All this is done to keep the leading vs trailing pistons correctly oriented. Many of these upgrades have been done by idiots who have swapped the caliper sides and put the pistons in a non-optimal position or worst yet mounted them with the bleeders facing downward. Whenever I have more pictures , progress or parts I’ll add another chapter or maybe just a final one when all the work is complete.
 CalzoneGolem
> Dave the car guy , still here
CalzoneGolem
> Dave the car guy , still here
10/11/2016 at 22:29 |
|
That’s a nice looking caliper!
|
Dave the car guy , still here
> CalzoneGolem
10/11/2016 at 22:34 |
|
Thanks, I thought it came out pretty good and if the other side comes out better I might sand and respray this one after some time on the road. I have extra stencils so it would be easy enough to do.
|
CalzoneGolem
> Dave the car guy , still here
10/11/2016 at 22:37 |
|
How did you pressurize the caliper?
|
Dave the car guy , still here
> CalzoneGolem
10/11/2016 at 22:46 |
|
I have a 150 psi compressor, turned the regulator way down and used a blower attachment with trigger to goose the caliper with air. It was so loud I was surprised my wife didn’t come to the garage. It sounded like a gun shot.
Used one like this with rubber against the back brake line hole.
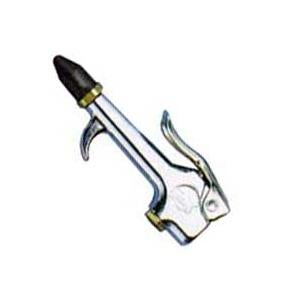
Had hand holding end and making sure fingers weren’t near the pistons or wood block. I think this time I’ll go down to maybe 20-25 lbs.